Kintsugi
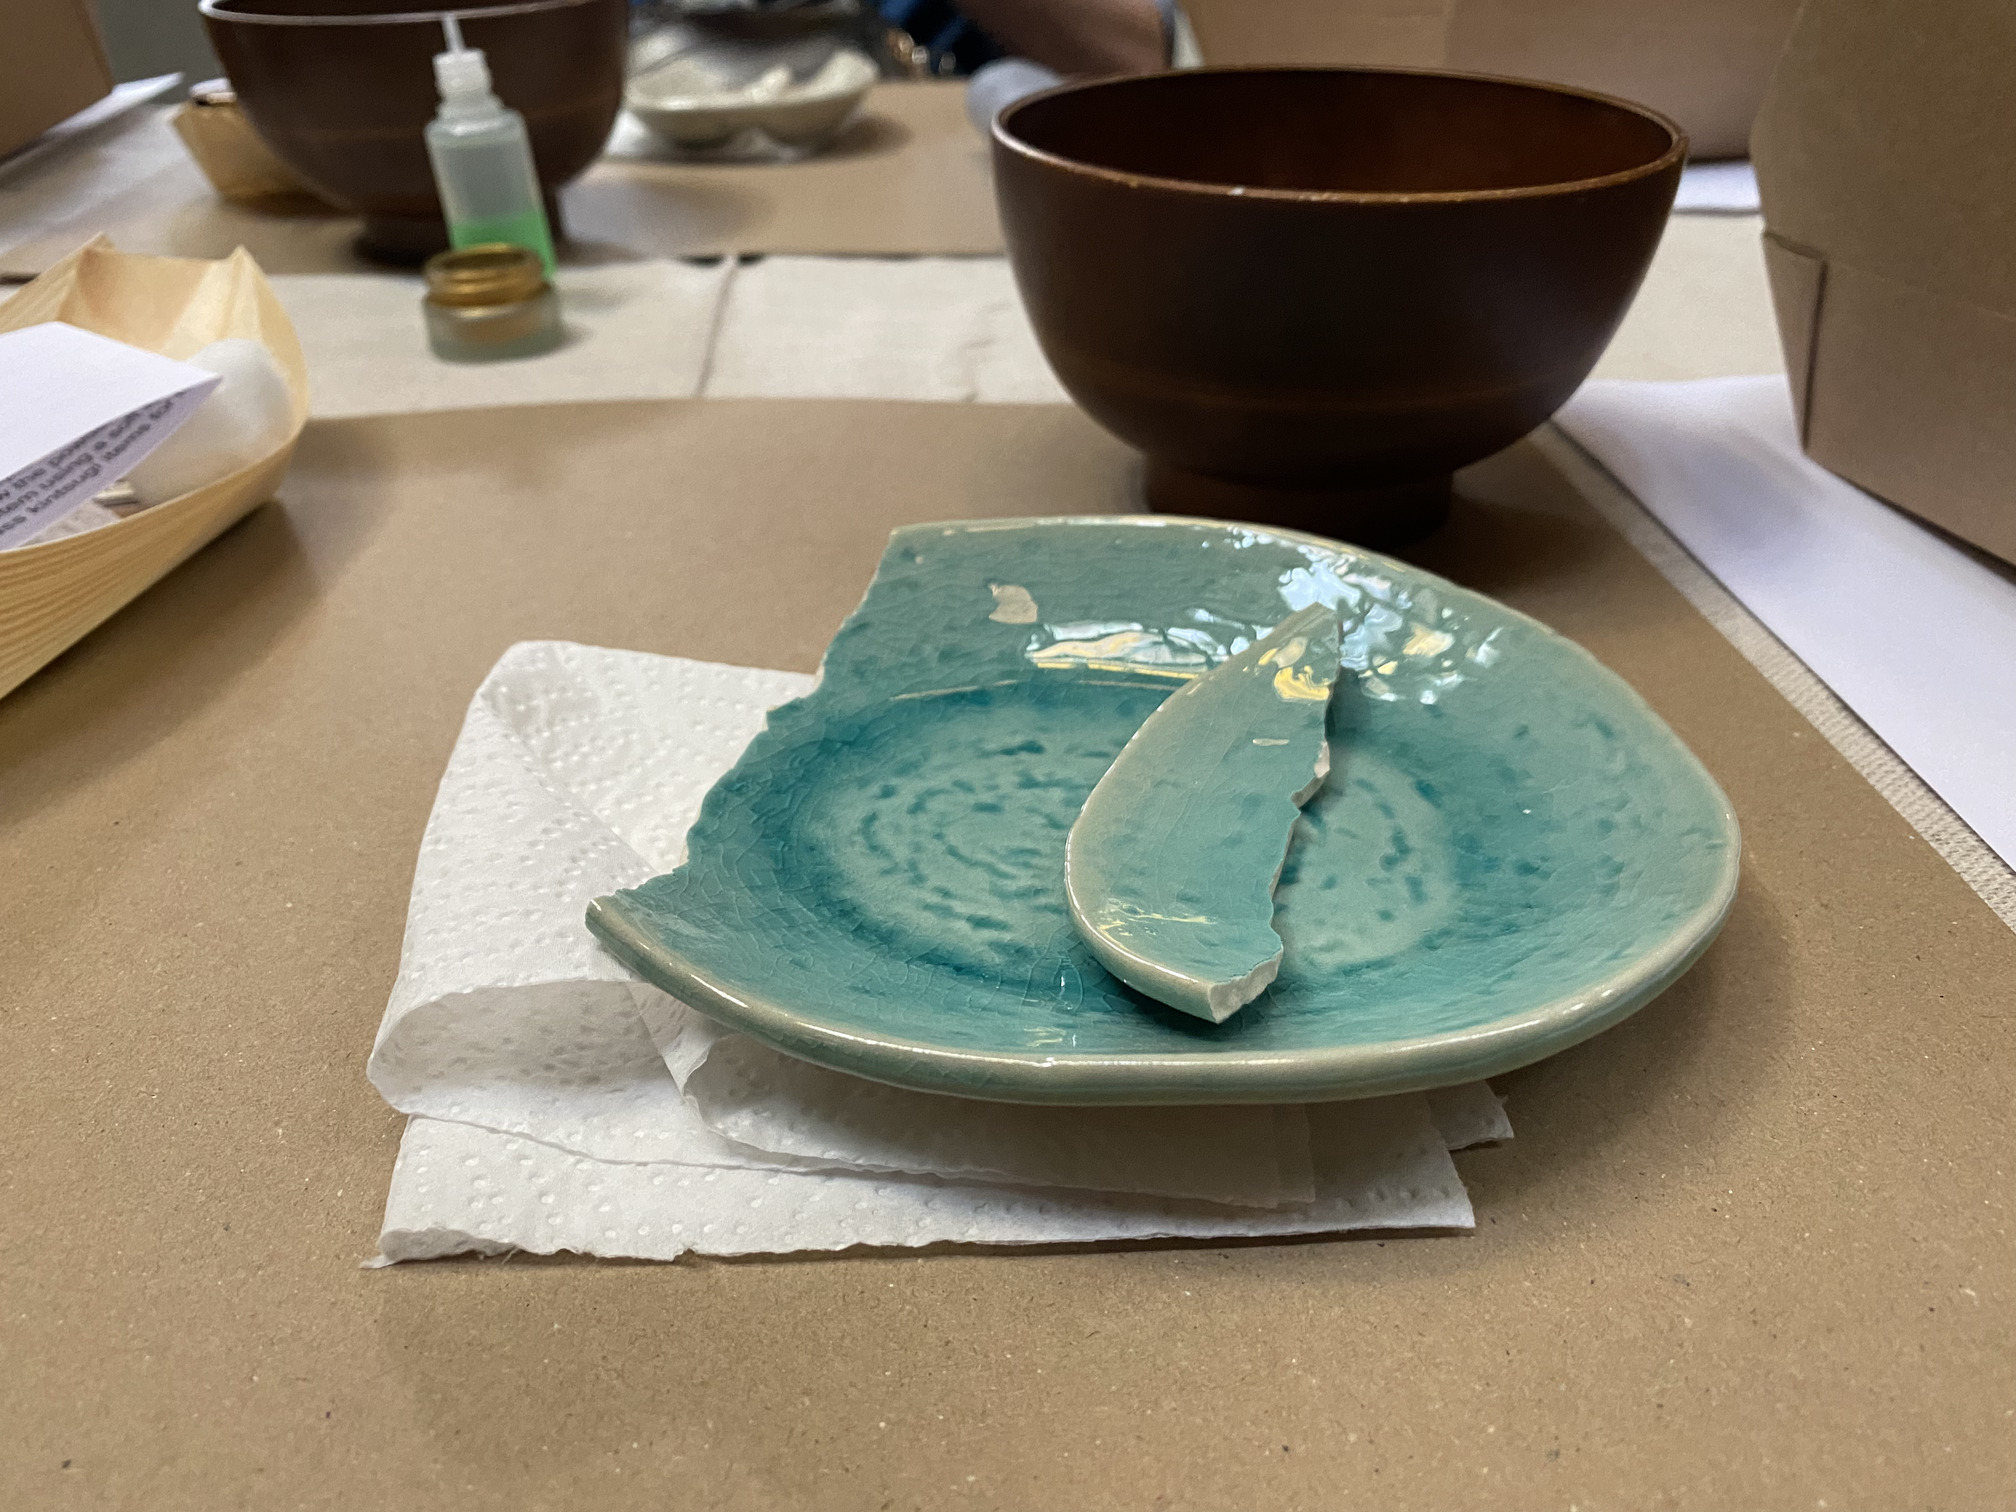
I attended a short kintsugi workshop at Pantechnicon last month.
It was run by Iku Nishikawa, who is based in Oxford but seems to be doing workshops all around.
You can also buy kits from her website.
Here are some notes so I remember how to do this next time I need to repair a broken thing!
Sand the edges
You need to sand until they're soft to the touch (I kept running my finger over the edges to assess this). This gives a better surface for the glue to hold onto things.
I think there was something about slightly sanding over the top and bottom so it creates a sort of tapered edge and wears away a bit of the "enamel" on top but I'm not sure if I got that right.
Then wipe the dust away (never a good idea to glue dusty things).
Mix the glue
We used that type of very strong glue where you have to mix two liquids in a little container with a spatula before you can use it. Then applied with a spatula to one of the sides.
Joining the two parts
Let the glue set on the surface for a few moments. Then put the two sides together and hold for a few minutes (around 5!) without moving, so they get really well stuck together.
Remove the extra glue with a cutter, scrapping out the excess
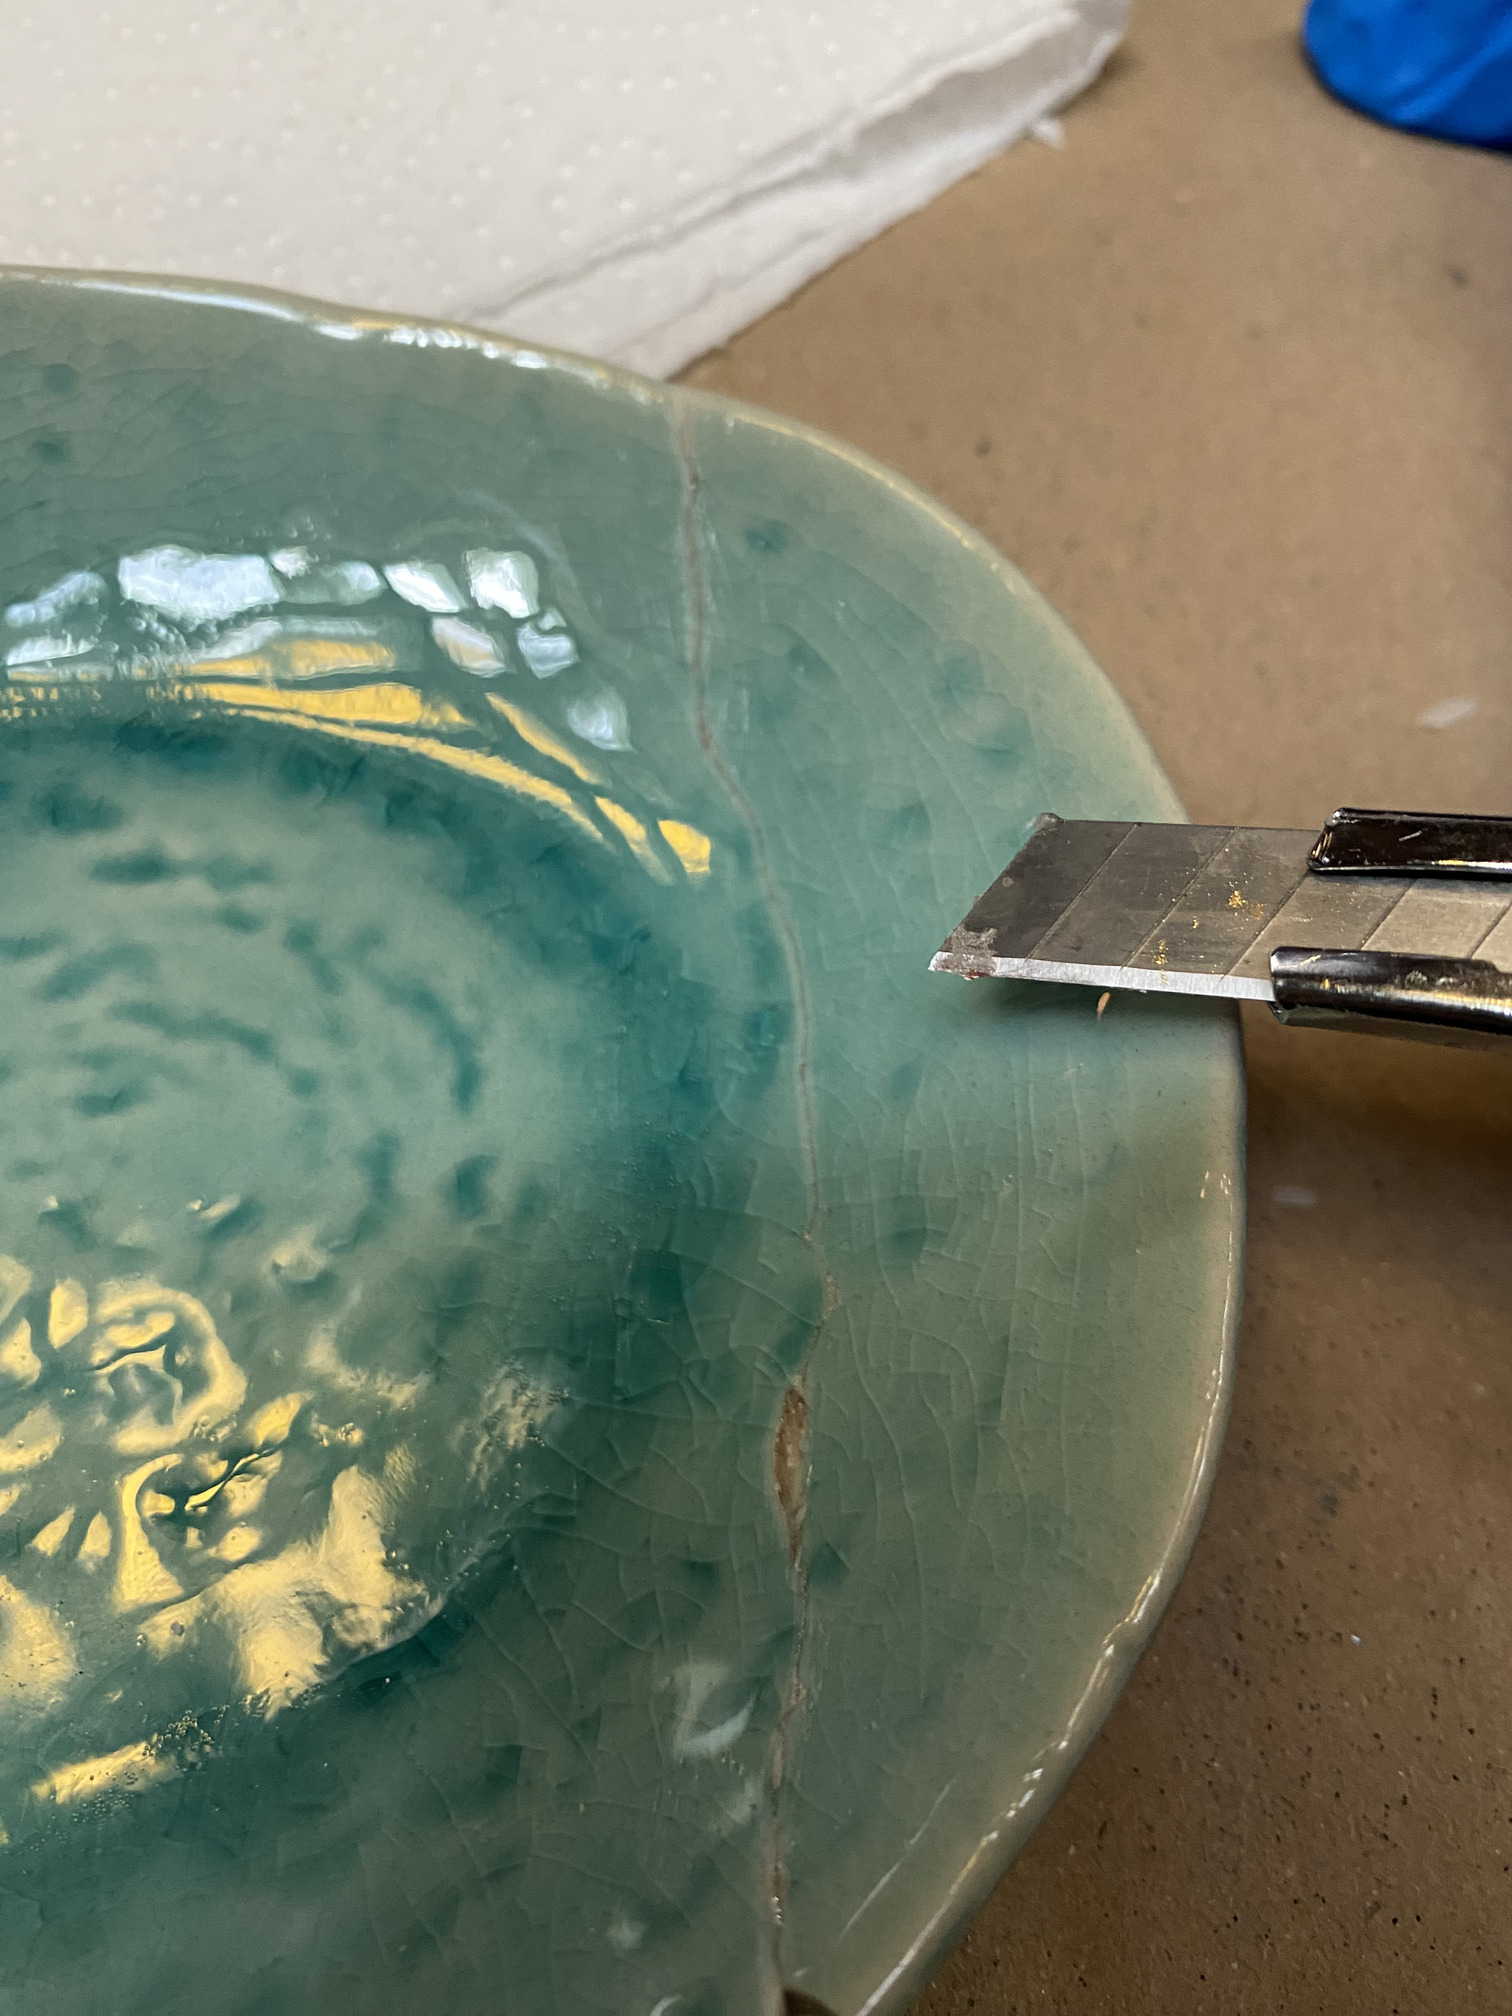
Here the instructor said to remove way more than I think I should have scrapped out, or maybe I misunderstood. I think I made too deep of a groove!
Remove thin glue remains or fingerprints with acetone
(i.e. with nail polish removal)
It's easier to remove fingerprints and other marks now, before they dry out.
Use putty to fill in holes or dents
Take a little ball of putty and push it into the bits that are dented or in need of 'refilling'.

I think I started wearing a glove in one hand at this point as I didn't want my hand to get stuck to the dish or the "chemicals" in the products attack my poorly skin.
Wet your hand slightly and smoothen the putty so it's got a similar flatness to the dish you're repairing.
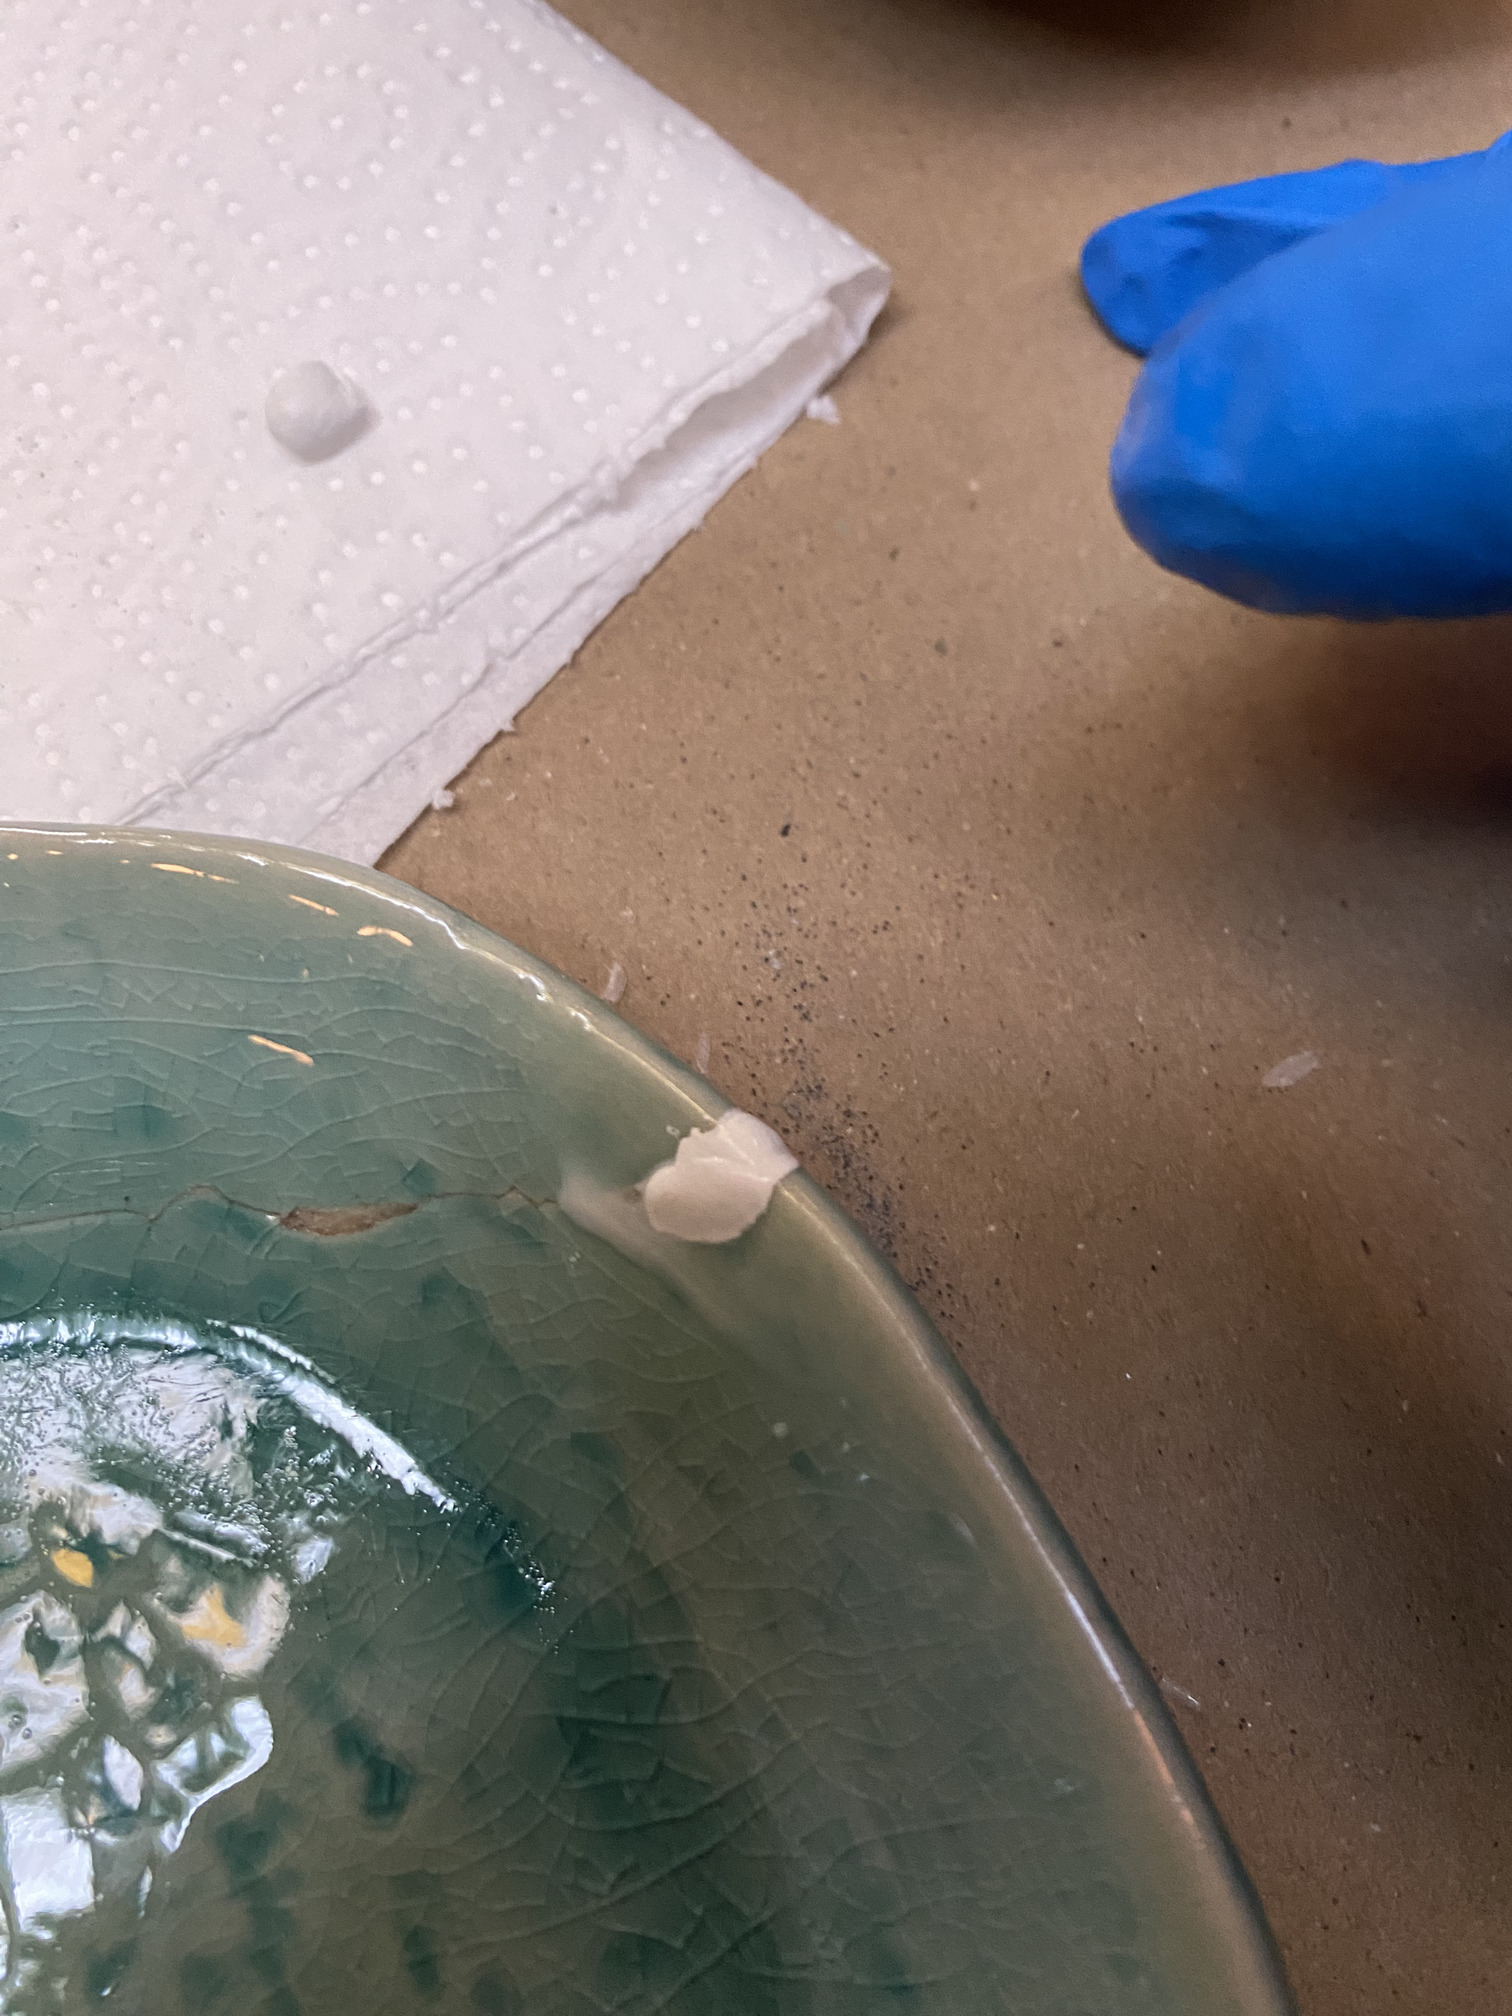
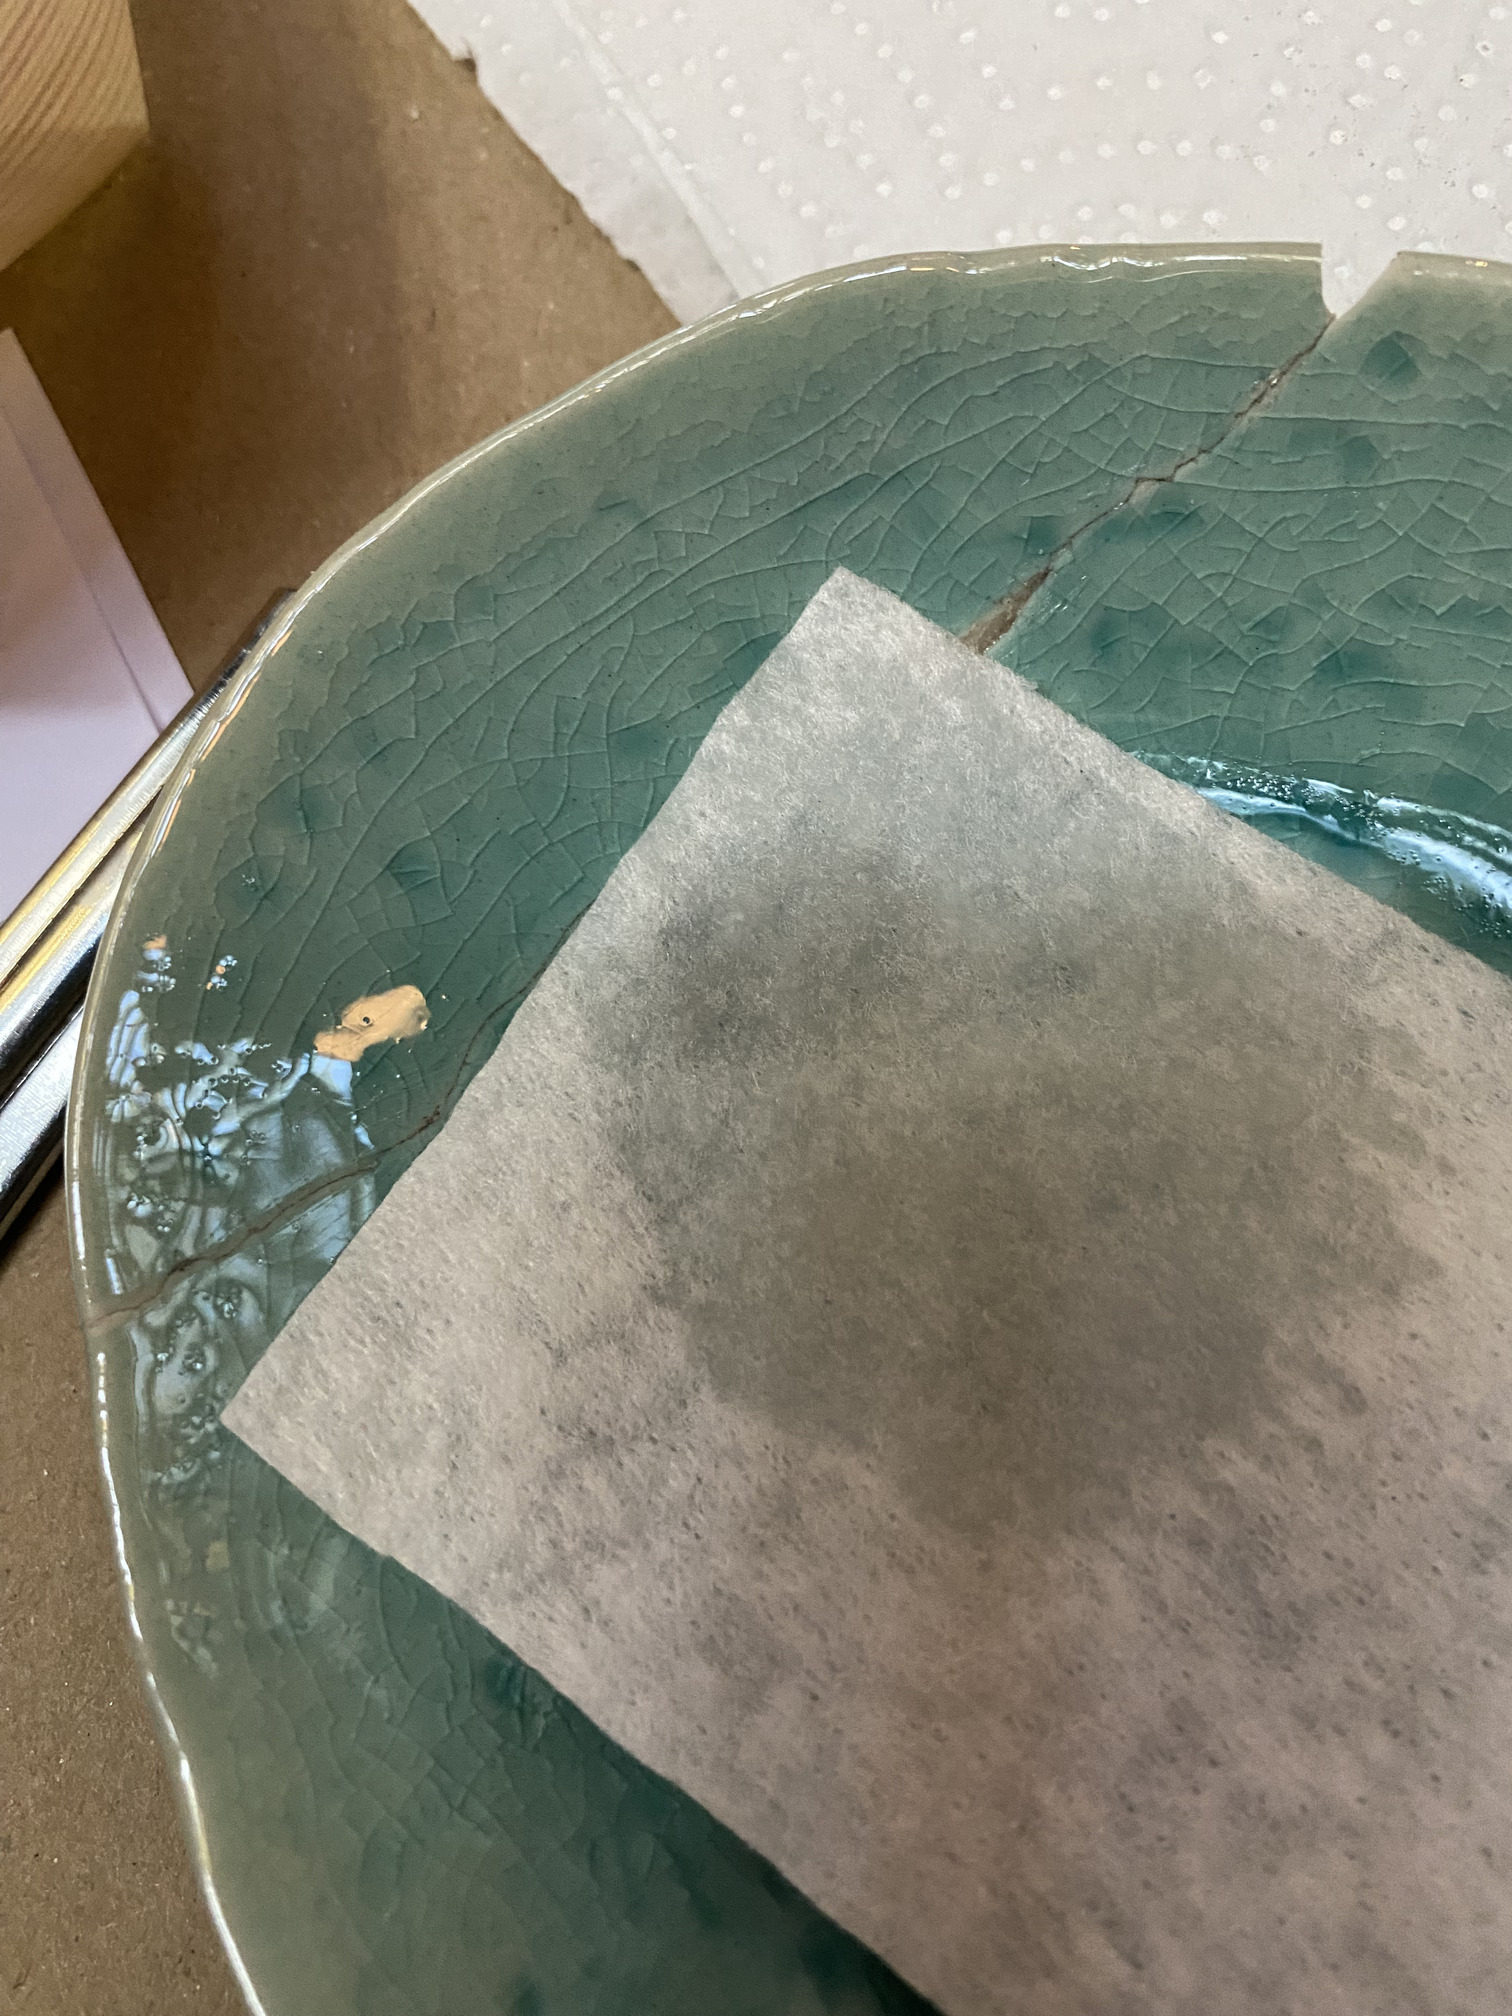
With a paper towel, dry out and remove any putty remains. Again, it's hard to clean this after it dries out, so better to do it now.
Apply the sealant / or red glue

(I think this smelled a bit like some product dentists use when they make a filling)
Let it dry for 10 minutes.
Here the instructor mentioned that depending on the sealant you use, you can use the piece for food or holding liquids again. Different sealants have different properties in what it comes to isolating the glue and putty from moisture.
Dip a brush on the metallic powder, and with a "removing ashes from the cigarette motion", release the powder over the "sticky" area
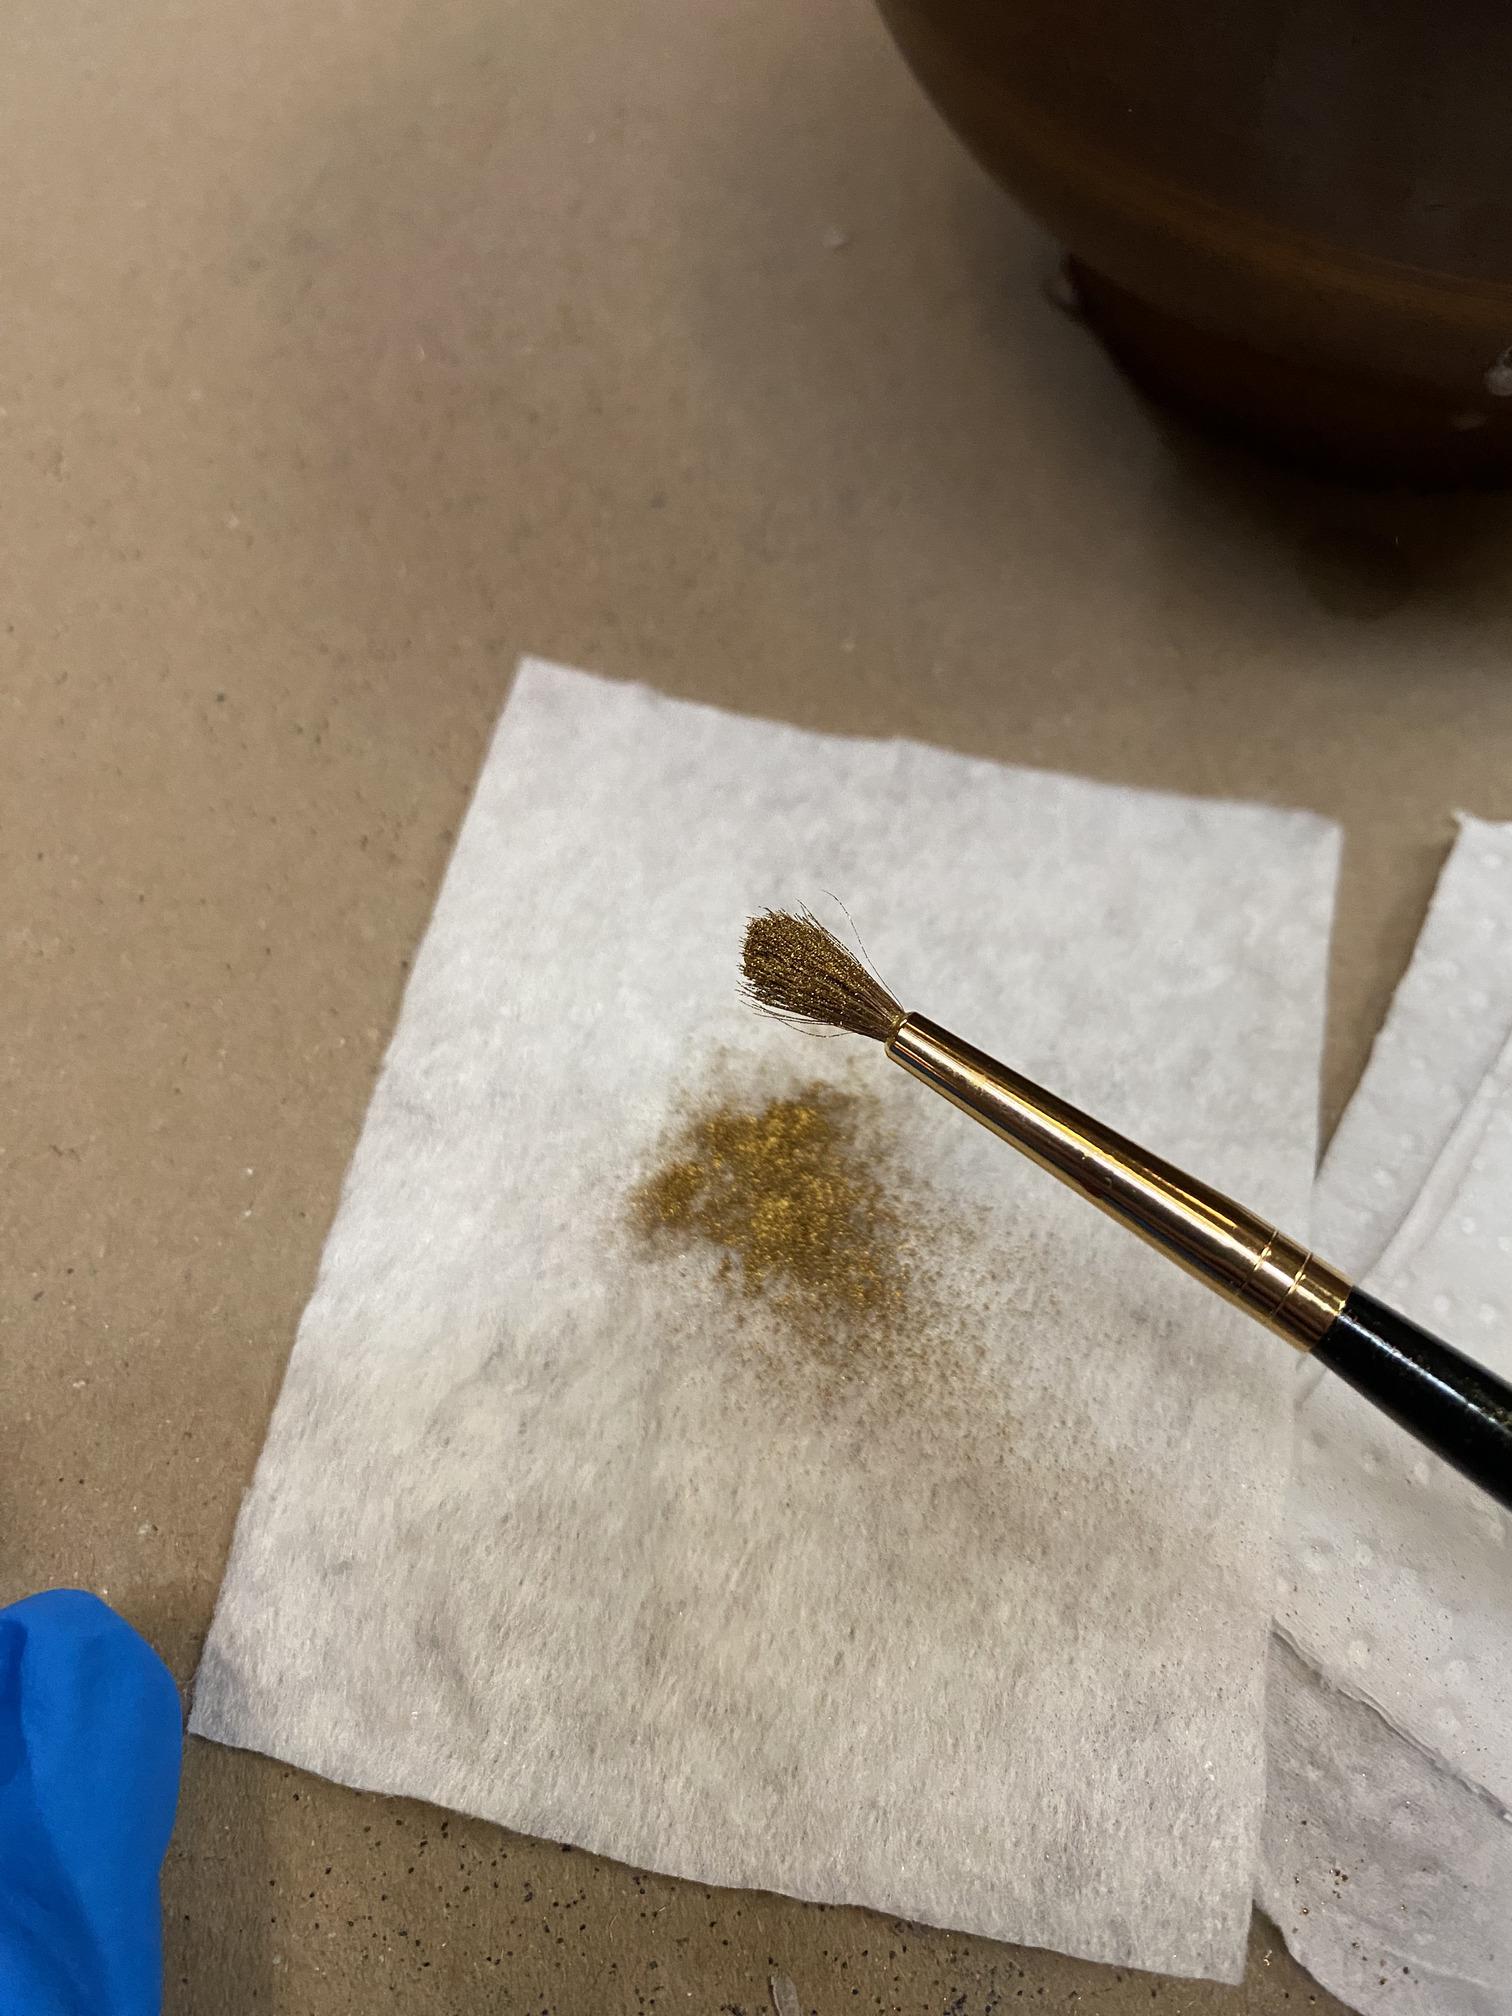
Don't apply the brush directly to the sealant - just let the powder fall over the crack.
Make sure there's enough powder to cover the glue area. It will get stuck to the sealant.
Make an slightly damp environment
Apparently the best results are obtained if the piece gets a chance to slowly dry and set. The instructor said something about England being too dry and cold for kintsugi sometimes!
A way of recreating at least the dampness is to place the dish on a box with a little wet cotton ball, and close the box.
Then let the dish sit in the box for a couple of days.
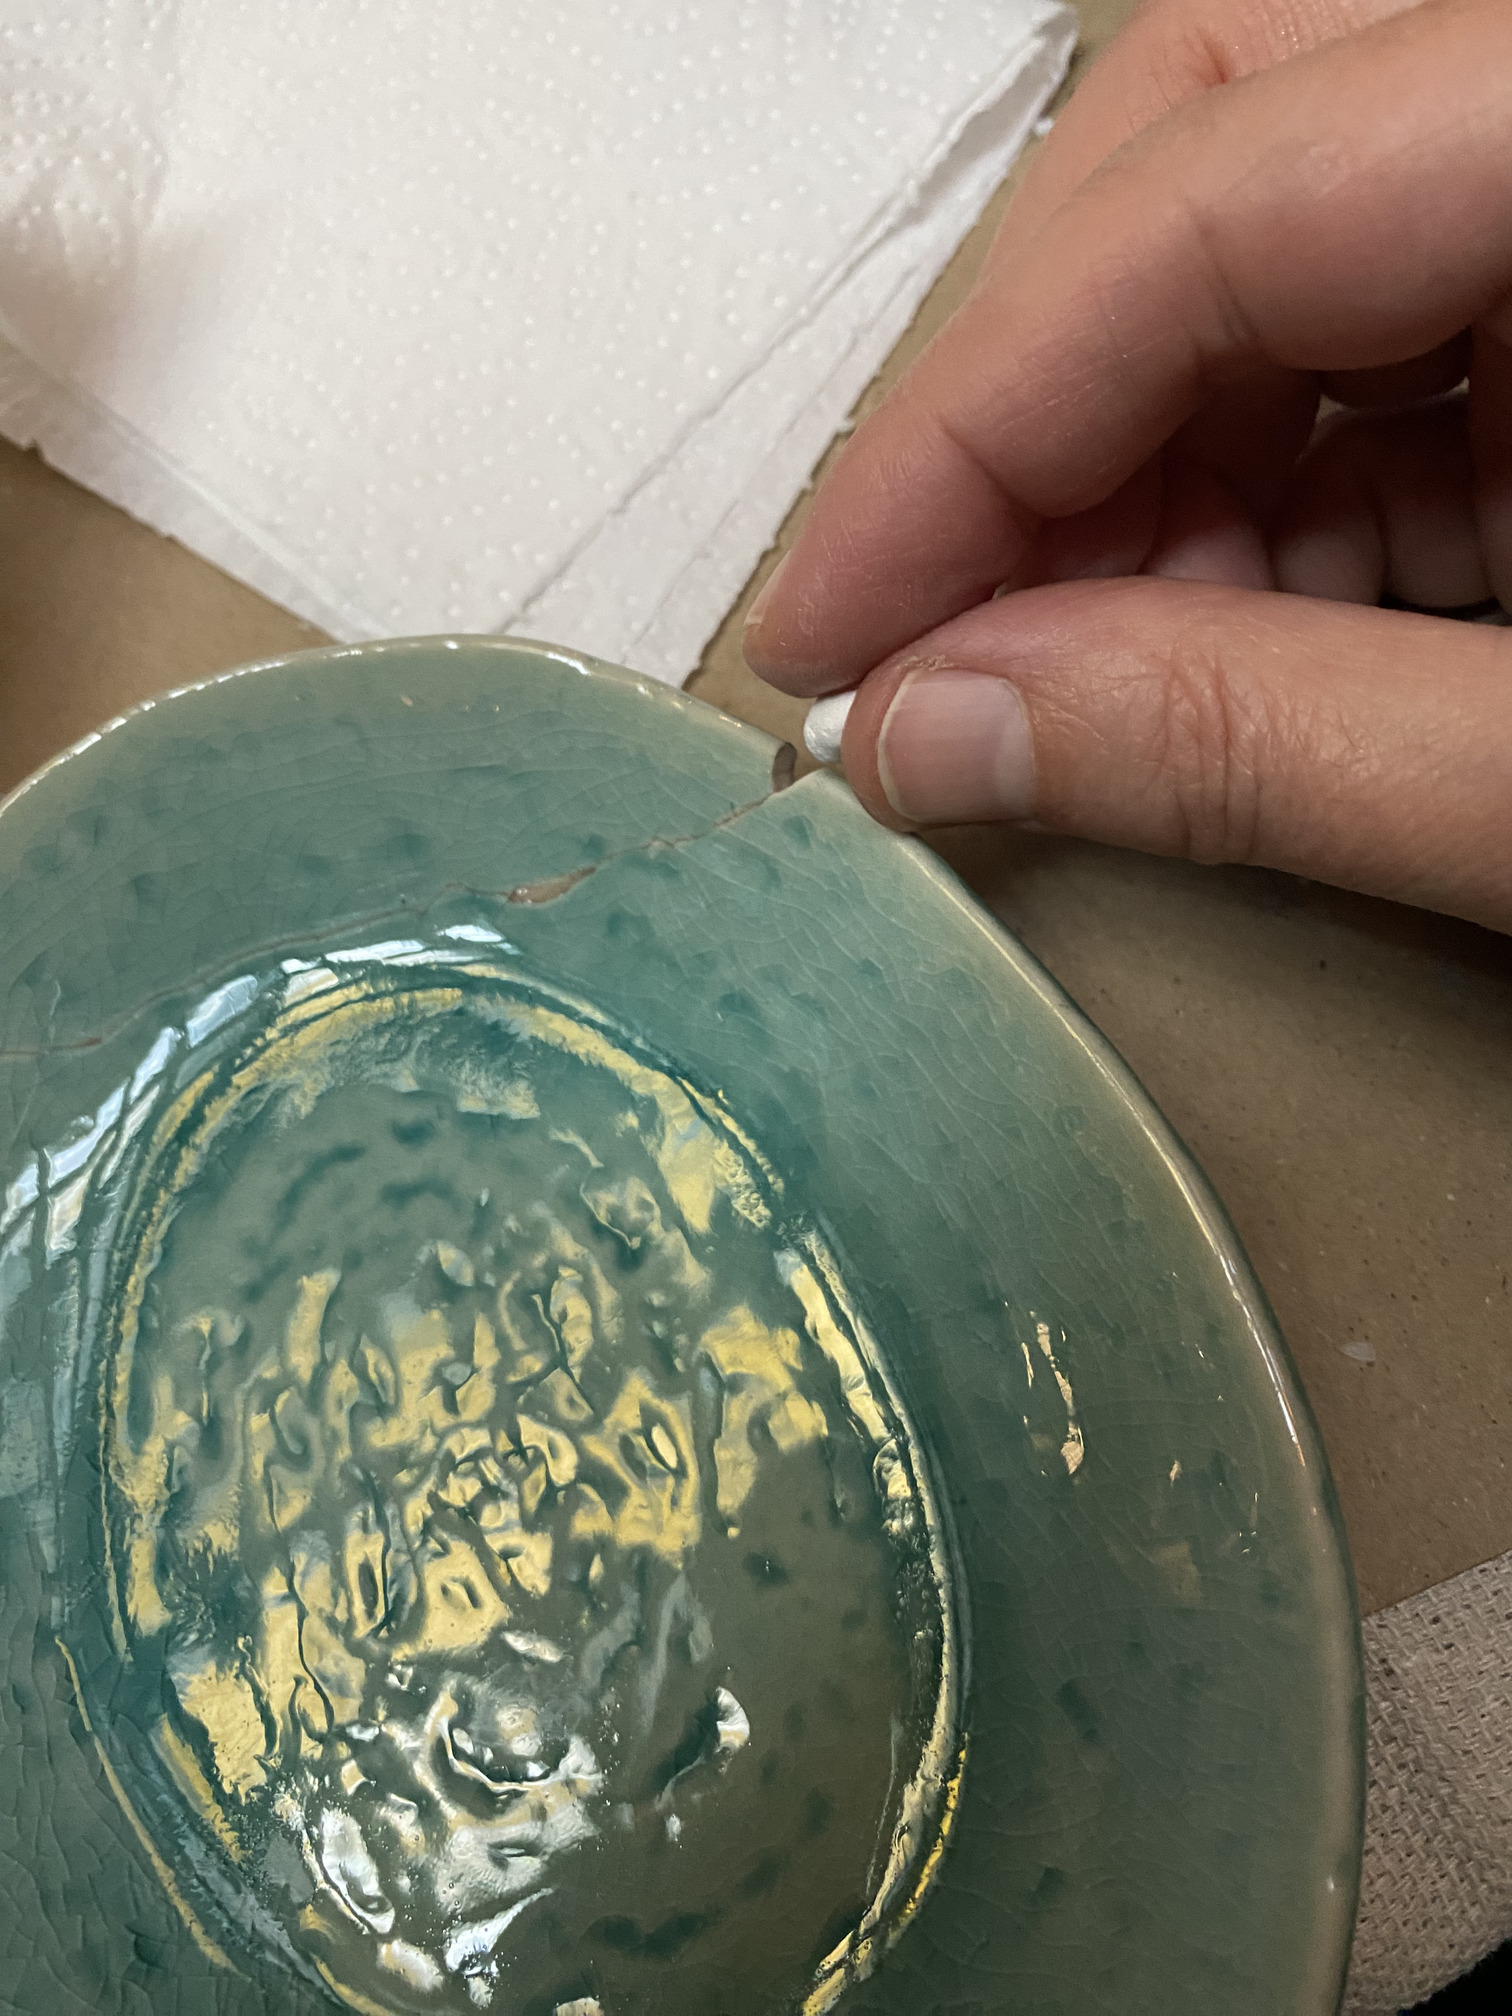
Remove the excess metallic powder
Use a ball of cotton to gently wipe out the excess.
At the workshop I misunderstood this step and wiped out the dish before it had had a chance to dry. It wasn't catastrophic, but I imagine in other more subtle pieces it might have a worse outcome.
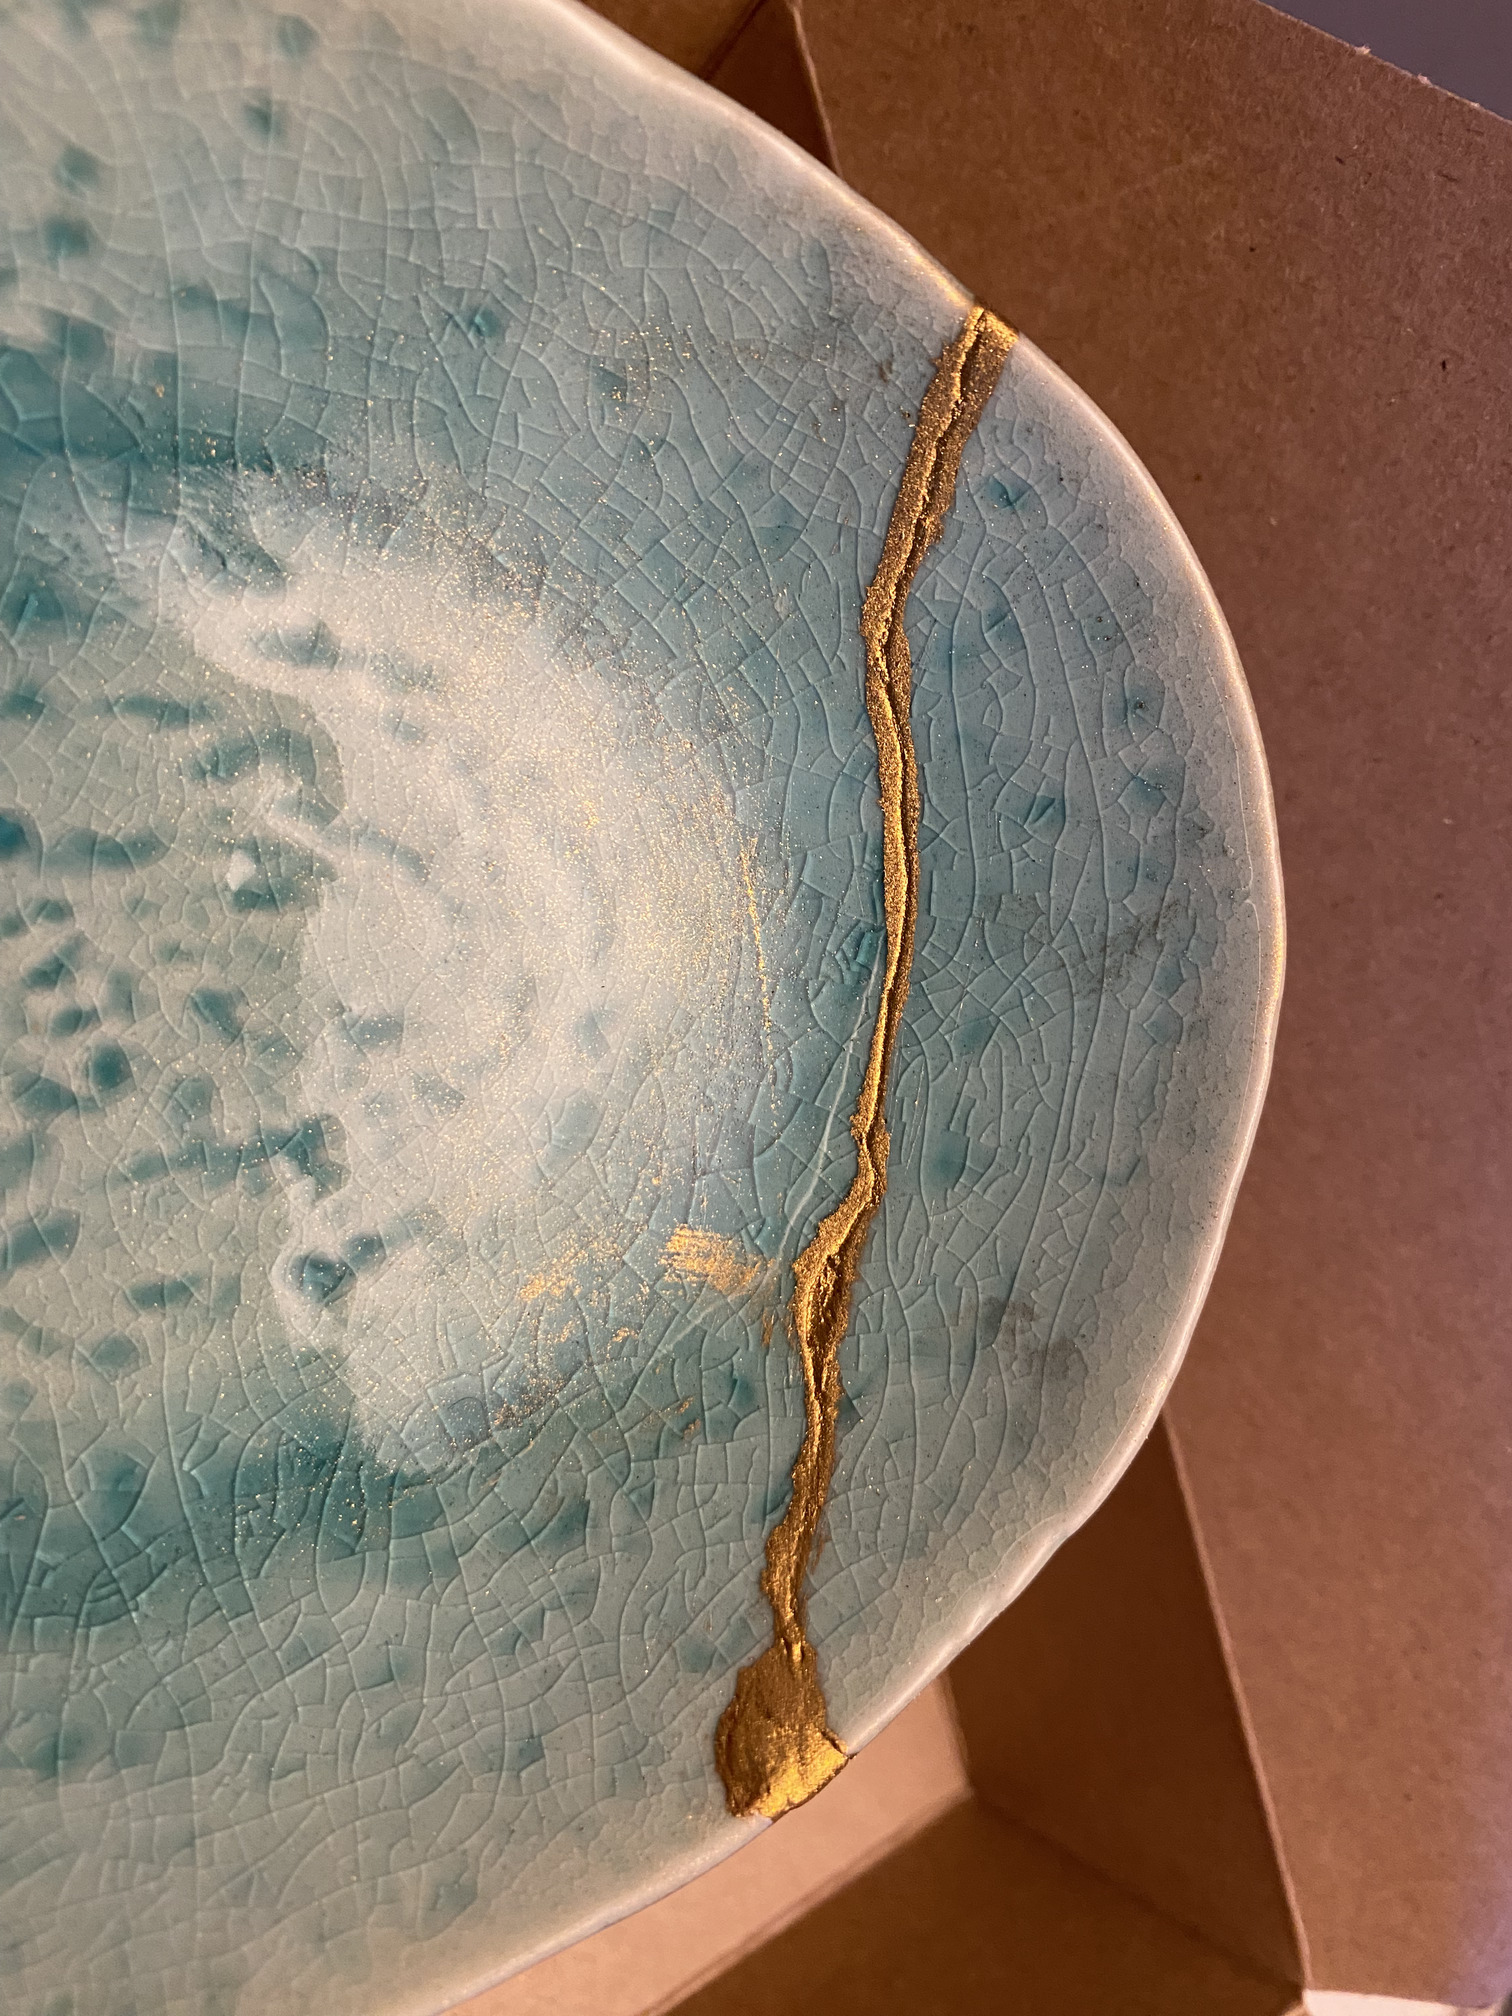
Final thoughts
I think I would not have removed so much glue--it just makes for a very deep groove between the pieces which doesn't please me. Next time I'll take that into account, same as for the bit about not removing the excess powder too early.